Quickly Expand a Menu
【Tip】Take the Button menu as an example to demonstrate. Other types of menus will be mentioned below, and the registration steps are the same.
Prepare
// import wangEditor
import E from 'wangeditor' // npm
// const E = window.wangEditor // CDN

// Get the necessary variables, these will be used in the following
const { $, BtnMenu, DropListMenu, PanelMenu, DropList, Panel, Tooltip } = E

// 【Tip】if version <= v4.0.5 :
// const { $ } = E
// const { BtnMenu, DropListMenu, PanelMenu, DropList, Panel, Tooltip } = E.menuConstructors
Menu Class
// Menu class ,Button Extends BtnMenu class
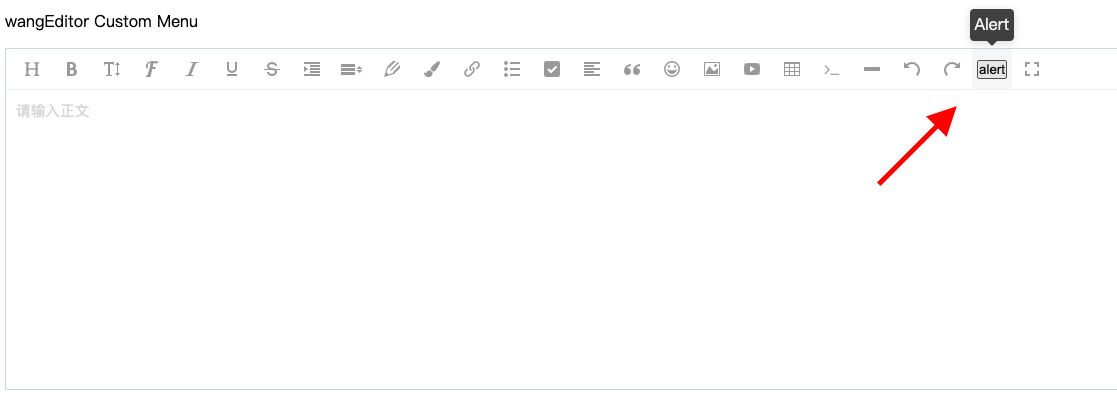
class AlertMenu extends BtnMenu {
constructor(editor) {
// data-title indicates that when the mouse hovers over the button, the function of the button is prompted
const $elem = E.$(
`<div class="w-e-menu" data-title="Alert">
<button>alert</button>
</div>`
)
super($elem, editor)
}
// menu click event
clickHandler() {
// do what you want to do
// You can refer to the [Common API] document to operate the editor
alert('hello world')
}
// Whether the menu is activated(If not needed, this function can be empty )
// 1. What is activation? When the cursor is placed on a section of bold and underlined text, B and U in the menu bar are activated, as shown in the figure below
// 2. When is this function executed? Every time the selection of the editor area changes (such as mouse operation, keyboard operation, etc.), the tryChangeActive function of each menu will be triggered to recalculate the activation state of the menu
tryChangeActive() {
//active menu
// 1. the DOM node will add a .w-e-active css class
// 2. this.this.isActive === true
this.active()
// // unactive menu
// // 1. the DOM node will remove .w-e-active css class
// // 2. this.this.isActive === false
// this.unActive()
}
}

Register Menu
[Tips]It's recommended to use the global mode to register the menu. If there are multiple editors and the custom menu of each editor is different, using the Instance mode to register the menu.
Global Mode
// register menu
const menuKey = 'alertMenuKey' // menu key ,must be unique

E.registerMenu(menuKey, AlertMenu)

const editor = new E('#div1')
editor.create()

const editor2 = new E('#div2')
editor2.create()
Instance Mode
const menuKey = 'alertMenuKey'  // menu key ,must be unique
const menuKey2 = 'alertMenuKey2'

const editor = new E('#div1')
// register menu
editor.menus.extend(menuKey, AlertMenu)

// put menu in  editor.config.menus
// You can also adjust the order of the menus through the configuration menus, refer to the document in the [Configuration Menu] section
//editor.config.menus.push(menuKey)
editor.config.menus = editor.config.menus.concat(menuKey)

// After registering the menu, then create the editor, the order is very important
editor.create()

const editor2 = new E('#div2')
editor2.menus.extend(menuKey2, AlertMenu)
editor2.config.menus.push(menuKey2)
editor2.create()
TypeScript
In the next document, when you refer to the source code to develop DropList, Panel, Tooltip, if you use TypeScript to develop, you may use some built-in types of wangEditor, which can be obtained in this way
【Tip】 wangEditor version >= v4.0.6 。
import { DropListConf, DropListItem, PanelTabConf, PanelConf, TooltipConfItemType } from 'wangeditor'